
Easy Woodworking Projects: 10 Simple DIY Builds for Beginners
Nearly 60% of American households engage in some form of DIY projects. Among them, woodworking stands out as a favorite hobby, combining creativity and practicality. If you've ever wanted to transform your living space with personalized items, you’re in luck! Easy woodworking projects can serve as a perfect gateway into the world of DIY woodworking for beginners.
Embarking on woodworking allows you to not only develop valuable skills but also create unique pieces that elevate your home décor. From bookshelves to planters, these woodworking projects are tailored for novices, ensuring that you can confidently undertake each build. Get ready to dive into the rewarding experience of woodworking and discover how straightforward it can be to bring your ideas to life!
Introduction to Woodworking for Beginners
Woodworking is a timeless craft that engages your creativity and offers practical skills. The introduction to woodworking provides a solid foundation for those seeking to explore this fulfilling hobby. Historically, woodworking has allowed individuals to create everything from furniture to intricate art pieces, reflecting society's functional and aesthetic needs.
In today's DIY culture, woodworking for beginners serves as an excellent way to express creativity while also producing tangible results. Engaging in woodworking can be a rewarding experience, enhancing your problem-solving abilities and manual dexterity. Understanding woodworking basics is essential to kickstart your journey, making it accessible for individuals of any age or skill level.
As you progress through this article, expect to find practical tips and insights tailored to help you navigate your woodworking adventure. Prepare to delve into the essentials needed to successfully undertake your first projects, overcoming challenges along the way and celebrating your achievements. Embrace this new endeavor, as the world of woodworking opens a realm of possibilities.
The Benefits of Woodworking
Engaging in woodworking offers a wide array of benefits that can significantly enhance your life. From developing essential skills to creating beautiful, functional items for your home, the advantages are both practical and rewarding.
Developing Skills and Techniques
Woodworking fosters skills development in various areas. You will gain precision and attention to detail as you measure, cut, and shape materials. Problem-solving becomes second nature when you encounter challenges, such as adjusting designs on the fly. Creativity flourishes when you envision projects and select materials that suit your personal style. These skills not only help in woodworking but also translate well into many other life areas, making the benefits of woodworking far-reaching.
Creating Functional Home Decor
Another significant aspect of woodworking lies in its potential for functional woodworking. Each piece you create not only serves a purpose but also adds a personal touch to your living space. Whether it’s a handcrafted table, a shelf to display your favorite books, or a unique decorative accent, the items you produce enhance your environment while showcasing your craftsmanship. This hands-on approach to decorating creates a sense of accomplishment and pride in your home.
Essential Tools for DIY Woodworking Projects
As you embark on your woodworking journey, having the right tools can significantly enhance your project experience. Understanding which woodworking tools are essential will simplify your work and improve the quality of your builds. This section highlights both hand tools and power tools for woodworking, ensuring you have what you need for various DIY tasks.
Hand Tools You'll Need
Hand tools are fundamental in woodworking and often provide greater control for intricate tasks. Here is a list of hand tools you’ll find indispensable:
- Saws: A quality handsaw or a coping saw offers versatility for detailed cuts.
- Chisels: A set of chisels enables precise shaping and fine detailing.
- Hammers: A reliable hammer is essential for driving nails and assembling components.
- Measuring Tools: A tape measure and square ensure accurate measurements and alignments.
- Files and Rasps: These tools help refine edges and smooth surfaces for a finished look.
Power Tools for Efficiency
To enhance productivity, power tools for woodworking can save you time and effort, especially for larger projects. Here are some must-have power tools:
- Drills: A cordless drill allows you to drill holes and drive screws efficiently.
- Table Saws: Ideal for accurate straight cuts and ripping large sheets of wood.
- Jigsaws: Perfect for making curved cuts and intricate designs.
- Sanders: An electric sander helps smooth surfaces quickly and easily.
- Miter Saws: Great for making precise angle cuts, especially for frames and moldings.
Selecting quality tools enhances your woodworking experience and ensures better results. Investing in reputable brands will provide durability and performance, allowing you to enjoy your projects for years to come.
Choosing the Right Wood for Your Projects
When embarking on woodworking projects, understanding the various types of wood plays a crucial role in achieving quality results. Each type of wood has unique properties that make it suitable for specific applications. As you dive into selecting lumber, consider the characteristics that best align with the goals of your build. This will ensure your projects not only look great but also stand the test of time.
Types of Wood: An Overview
The two main categories of wood are hardwood and softwood. Hardwoods, like oak and maple, are known for their durability and often feature stunning grain patterns, making them ideal for furniture and decorative items. Softwoods, such as pine and cedar, are lightweight and usually more affordable, making them a great choice for beginners working on simple projects.
- Hardwoods: Best for furniture and high-end projects.
- Softwoods: Suitable for structures and decorative pieces.
How to Select Quality Lumber
Selecting quality lumber is essential for ensuring your projects meet both aesthetic and structural standards. Start by examining the grain patterns, as these can indicate the wood's overall strength and appearance. Look for straight grains free from knots and defects, which can compromise the integrity of your build.
Moisture content is another critical factor when selecting lumber. Wood with high moisture levels can warp or twist as it dries out. To test this, consider using a moisture meter. Ideally, aim for a moisture content of about 6-8% for indoor projects. By paying attention to these details, you will choose the best wood for your DIY projects and enhance the longevity and visual appeal of your creations.
Safety Tips for Woodworking
Engaging in woodworking projects can be incredibly rewarding, but prioritizing safety is crucial for a successful experience. Understanding woodworking safety guidelines will protect you from potential hazards that come with handling tools and materials. Proper usage of safety gear is essential in fostering a secure environment while you work.
Protective Gear to Use
Wearing the appropriate safety gear is vital for reducing the risk of injuries. Here are some essential items to consider:
- Safety Goggles: Protect your eyes from dust, debris, and flying particles.
- Ear Protection: Use earmuffs or earplugs when operating loud machinery to prevent hearing damage.
- Dust Masks: Keep harmful dust and fumes at bay while sanding or cutting wood.
- Gloves: Wear durable work gloves to safeguard your hands from sharp edges and splinters.
Safe Handling of Tools
Tool handling safety is paramount for avoiding accidents. Follow these best practices:
- Always read and understand the user manual before operating any tool.
- Keep your workspace clean and organized to minimize the risk of trips and falls.
- Use tools as intended and avoid making modifications that could compromise safety.
- Disconnect power tools when not in use and store them in a secure location.
By adhering to these guidelines, you cultivate a safer woodworking environment, allowing you to focus on creativity and craftsmanship while minimizing risks effectively.
Woodworking Projects: 10 Simple DIY Builds
Embarking on woodworking projects for beginners can be an exciting journey. Each of these 10 projects introduces you to fundamental skills while allowing you to create functional items for your home. These simple woodworking projects not only build your confidence but also enhance your creativity.
- Wooden Coasters: A beginner-friendly project that involves cutting and sanding pieces of wood to protect your surfaces.
- Bookshelf: This practical item can be customized for any space and provides a great opportunity to practice your measuring and cutting skills.
- Picture Frame: A beautiful way to showcase your favorite memories, perfect for honing your joinery techniques.
- Birdhouse: Engage with nature while crafting a home for feathered friends, offering a fun aesthetic project.
- Garden Planter Box: Combine functionality with creativity by designing a planter box that beautifies your outdoor space.
- Coat Rack: A practical addition to your entryway, perfect for practicing basic assembly and finishing skills.
- Coffee Table: This more advanced project allows you to create a centerpiece for your living room, practicing both design and construction techniques.
- Step Stool: A simple build that can greatly assist in reaching higher places around the home.
- Storage Bench: Enhance your organization while providing a place to sit and relax.
- Wooden Toy: Crafting a toy presents creative challenges and allows you to design something special for someone young at heart.
These DIY builds cater to various interests and skill levels, making woodworking accessible and enjoyable. You can tackle these simple woodworking projects at your own pace, enjoying the satisfaction that comes from crafting something with your hands.
Building a Basic Bookshelf
Creating a bookshelf is an excellent starter project for those new to woodworking. Proper planning is vital in this DIY bookshelf project to align your vision with practical execution. You can customize the size, style, and function of your bookshelf to meet your specific needs, enhancing your living space.
Planning Your Design
Begin by drafting your bookshelf plans. Consider the following aspects:
- Size: Determine how much space you have and what items you’ll be storing.
- Style: Decide if you prefer a classic, modern, or rustic look.
- Function: Think about whether it will hold books, decorative items, or offer additional storage options.
Step-by-Step Assembly Guide
Once you have your design ready, it’s time to start building a bookshelf. Follow these steps for a successful assembly:
- Gather your materials based on your plans, including the wood, screws, and tools needed.
- Cut the wood according to your measurements, ensuring all pieces are uniform.
- Assemble the frame by connecting the sides and shelves, ensuring stability.
- Secure everything using wood screws, checking for evenness as you go.
- Sand any rough edges and apply your desired finish for a polished look.
Building a bookshelf will not only provide you with functional storage but also a rewarding DIY bookshelf project that enhances your woodworking skills.
Creating a Wooden Picture Frame
Creating a wooden picture frame can be a rewarding and enjoyable DIY project. This craft allows you to personalize your space while honing your woodworking skills. You can make a stunning DIY picture frame that complements any decor or celebrates precious memories. Below are the materials needed and the finishing touches to elevate your frame's appearance.
Materials Needed
To start, gather the following materials:
- Wood of your choice (pine, oak, or cedar work well)
- Wood glue for secure bonding
- Wood screws or nails for added strength
- Clamps to hold everything together while it sets
- Glass or acrylic sheet for covering the picture
- Backing material (cardboard or MDF)
- Optional: decorative elements (stencils, paints, or stains)
Finishing Touches for Your Frame
After assembling your wooden picture frame, focus on frame finishing techniques to give it a polished look.
- *Sanding*: Smooth all edges and surfaces using fine-grit sandpaper.
- *Staining or Painting*: Apply your desired finish to enhance the wood grain or add color.
- *Sealing*: Use a clear protective coat to safeguard against moisture and damage.
- *Attaching Hardware*: Add hooks or clips at the back for easy hanging.
Your completed wooden picture frame will not only display cherished memories but also showcase your craftsmanship and creativity. Enjoy making this simple yet impactful project!
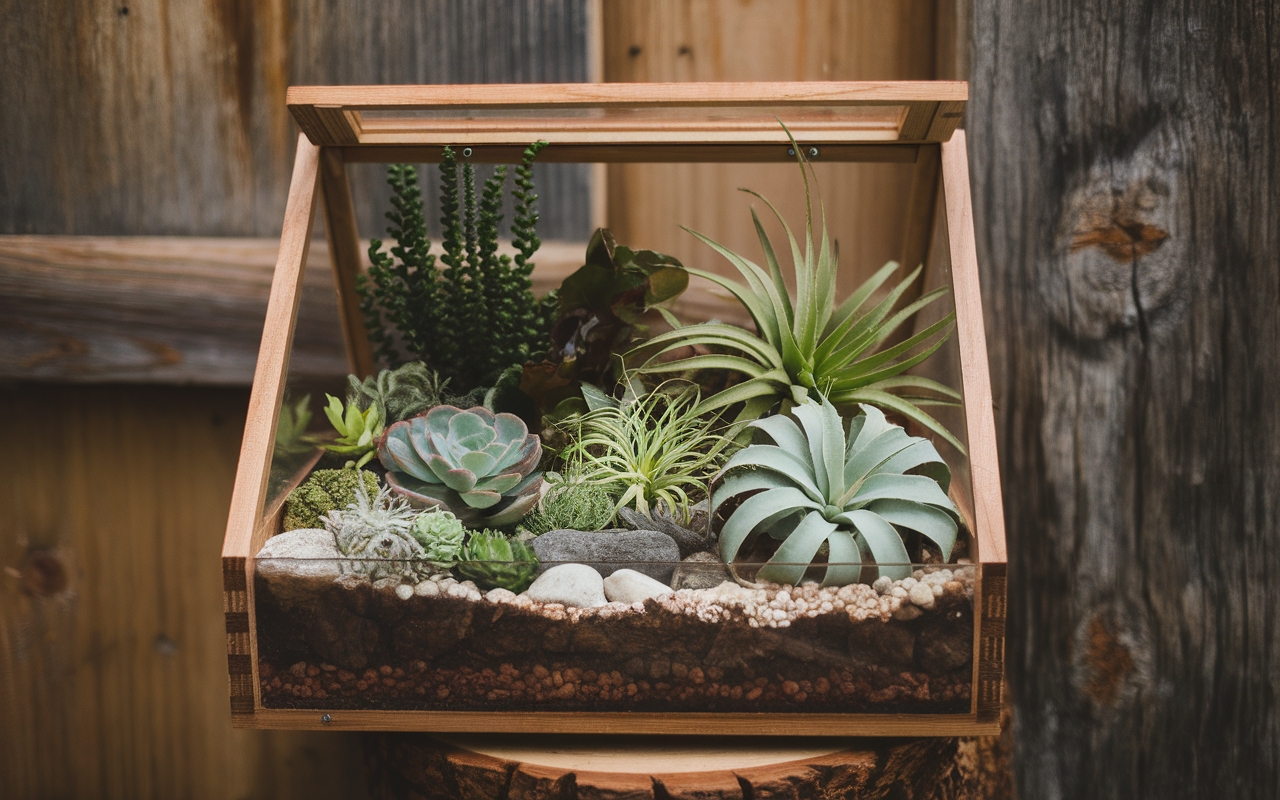
Making a Garden Planter Box
Creating a garden planter box is a fantastic way to enhance your outdoor space. This DIY planter box not only adds beauty to your garden but also provides a practical solution for growing your favorite plants. In this section, you will discover various design ideas to spark your creativity and learn about the types of wood best suited for outdoor woodworking, ensuring your planter box stands the test of time.
Design Ideas for Planter Boxes
When it comes to designing your garden planter box, there are numerous styles to consider:
- Traditional Rectangular: Simple and functional, ideal for flowers and herbs.
- Tiered Planters: Perfect for maximizing space and adding dimension to your garden.
- Vertical Planters: Space-efficient option for small patios, allows for creative arrangements.
- Rustic Wooden Boxes: Use reclaimed wood for a charming, weathered look.
Different Types of Wood for Outdoor Use
Choosing the right wood is crucial for the durability of your DIY planter box. Here are some excellent options for outdoor woodworking:
- Cedar: Naturally resistant to decay and insects, perfect for outdoor use.
- Redwood: Offers both beauty and durability, ideal for high-end designs.
- Pressure-Treated Lumber: Economical and effective in resisting rot, but ensure it's safe for plants.
- Composite Materials: Made from recycled materials, these offer longevity and low maintenance.
By carefully selecting your design and wood type, you can create a stunning garden planter box that elevates your outdoor experience while allowing you to grow your cherished plants with ease.
Assembling a Simple Coffee Table
Building a DIY coffee table can be a rewarding project that enhances your living space. With the right blueprints and a few essential tools, you can create a stunning piece of furniture that showcases your craftsmanship. This section will guide you through the steps required for successful coffee table assembly, including precise measurements and cuts, while also addressing the finishing touches that will elevate your creation.
Blueprints for Your Table
Before you start, gather the necessary materials and tools. Here’s a basic outline for your coffee table:
- Choose the dimensions that fit your space, typically around 48 inches long and 24 inches wide.
- Select suitable wood, such as pine or oak, for durability and aesthetic appeal.
- Follow a simple blueprint that includes a tabletop and sturdy legs, ensuring the design complements your home decor.
Make precise cuts based on your blueprints to achieve a professional look during coffee table assembly. Take your time to measure twice before cutting.
Choosing the Right Finish
The final step in completing your DIY coffee table is selecting the right finish. Finishing coffee tables not only protects the wood but also enhances its beauty. Consider these options:
- Stains come in various shades, allowing you to highlight the natural grain of the wood.
- Polyurethane offers a durable topcoat that withstands everyday use and spills.
- Wax finishes provide a softer sheen and are easy to apply.
After applying your chosen finish, let it dry thoroughly to ensure a lasting effect. With your completed coffee table, enjoy the perfect blend of functionality and style in your living room.
Crafting a Birdhouse
Creating a DIY birdhouse can be a rewarding project that adds charm to your garden while providing a cozy home for local birds. When you follow the right birdhouse plans, you ensure that your feathered friends will find comfort and safety within their new habitat. Start by considering the design elements that attract various species. For instance, the entrance hole should be appropriately sized depending on the type of birds you hope to invite.
Use the following guidelines when crafting your DIY birdhouse:
- Dimensions: A good rule of thumb is to keep the birdhouse around 6x6 inches for the floor, with a height of about 8 to 10 inches.
- Ventilation: Incorporate small holes near the roof to allow airflow, which helps regulate temperature and moisture.
- Drainage: Drill small holes in the base to prevent water accumulation, ensuring a safe environment for the birds.
When embarking on this project, woodworking for nature plays a vital role in preserving your environment. Use non-toxic finishes for the exterior, avoiding any harmful chemicals that could endanger the birds. With thoughtful planning, your birdhouse will not only meet their needs but also blend beautifully with your outdoor space.
Incorporating natural materials can enhance your design. Consider using cedar or pine, which are durable and resistant to rot. As you finalize your birdhouse plans, remember to position it in a safe location, away from predators just as much as it should be comfortably sheltered.
Designing a Coat Rack
Creating a functional and stylish coat rack is an excellent woodworking project that adds personality to your entryway. With the right coat rack design, you can combine aesthetics and practicality, ensuring you have a dedicated space for jackets, bags, and other accessories. Before you begin constructing your DIY coat rack, it’s essential to gather the necessary materials and tools to ensure a smooth building process.
Materials and Tools Required
For your DIY coat rack, you will need several woodworking materials, including wood boards (such as pine or oak), hooks, screws, and a mounting bracket for wall installation. Depending on your design preferences, you might also consider adding a shelf or additional decorative elements. As for tools, a power drill, saw, level, and measuring tape will be crucial for accurately cutting and assembling your coat rack.
Remember, a coat rack design can be customized to reflect your personal style. You could opt for a minimalist, modern aesthetic or a rustic, farmhouse look. Whichever style you choose, following these guidelines will help you create a beautiful and functional piece that enhances your home's entryway.
Related Articles
The Best Wood for Furniture: Strength, Durability and Aesthetic ChoicesBest Wood Glue for DIY Projects: A Guide to Strong & Secure Bonds
Best Woodworking Books & Online Resources to Learn the Craft
Choosing the Best Workbench for Your Garage or Small Workshop
Top 10 Common Woodworking Mistakes & How to Avoid Them
Shop for Woodworking Tools on Amazon